Important for a good editor to know
If you’ve ever found yourself squinting at your Photoshop canvas, trying to get those intricate details just right, or zoomed in so close that you can practically see individual pixels, you’re in the right place. In this article, we’ll teach you how to zoom in and out in Photoshop, helping you master this fundamental skill that’s key to precise image editing on Photoshop.
But there’s more than one way to zoom in or out in Photoshop. You’ll have to choose the zoom option that will fit your workflow the best.
1. The Zoom Tool
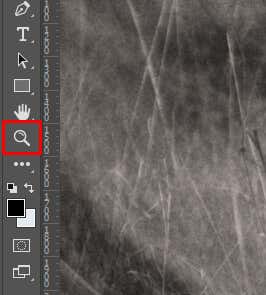
Using the zoom tool is the default way of zooming in and out in Adobe Photoshop. You’ll just have to use the magnifying glass icon near the bottom of the toolbox on the left side of the Photoshop screen.
When you select the zoom tool, your cursor changes into a magnifying glass with a + sign. Use it to click anywhere on your image to zoom in. If you want to zoom out, simply hold the Alt key (Windows) or Option (Mac) on your keyboard and click on the image. You’ll also notice that the plus sign inside your cursor changed into a minus sign.
The keyboard shortcut for activating the magnifying glass icon is the letter Z on your keyboard.
You also don’t have to click on the image each time you want to zoom in or out. There’s an Animated Zoom option that turns zooming in or out into a continuous feature. But first, you’ll have to enable this feature. Here’s how:
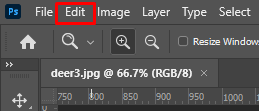
- Go to Edit in the menu bar at the top ribbon.
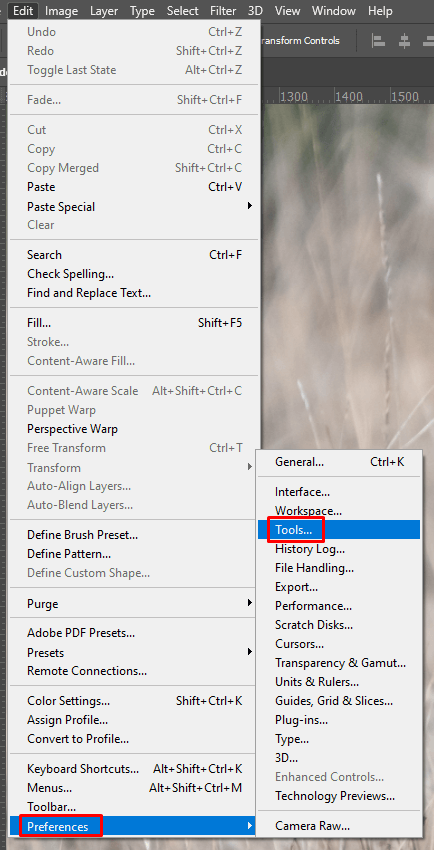
- Hover over Preferences in the drop-down menu, and select Tools from the sub-menu that’ll show up.
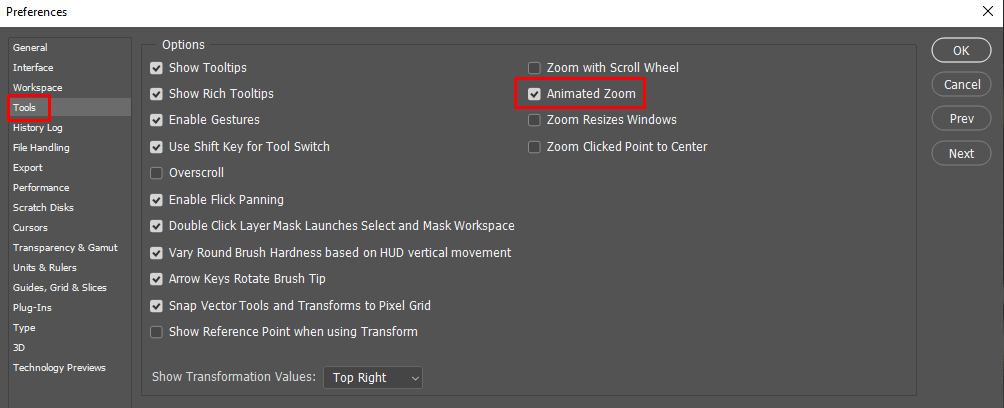
- Tick the checkbox next to the Animated Zoom.
Now, you don’t have to click to magnify your image each time. Simply click once and hold until you reach the magnification percentage that you need. However, not all graphics cards will support the Animated Zoom feature. Check if your PC’s graphics card is compatible with the Photoshop version you’re running.
Another way to omit clicking each time to magnify or reduce the image size on your Photoshop screen is to enable the Scrubby Zoom option in the Zoom Tool’s options bar at the top, just under the ribbon. These options will be available only while the Zoom Tool is active. Simply click the checkbox next to Scrubby Zoom to zoom in and out by holding the mouse and dragging it right or left.
2. Using the Keyboard Shortcut
Using Photoshop’s keyboard shortcuts is the quickest way to zoom in or out on your image or canvas. Press CTRL and + (Windows) or Command and + (Mac) to zoom in. If you want to zoom out, press CTRL and – or Command and –.
If you hit CTRL + 0 or Command + 0 on your keyboard, your image will automatically fit on the screen, whether it means zooming in or out.
3. Zoom with the Scroll Wheel on Your Mouse
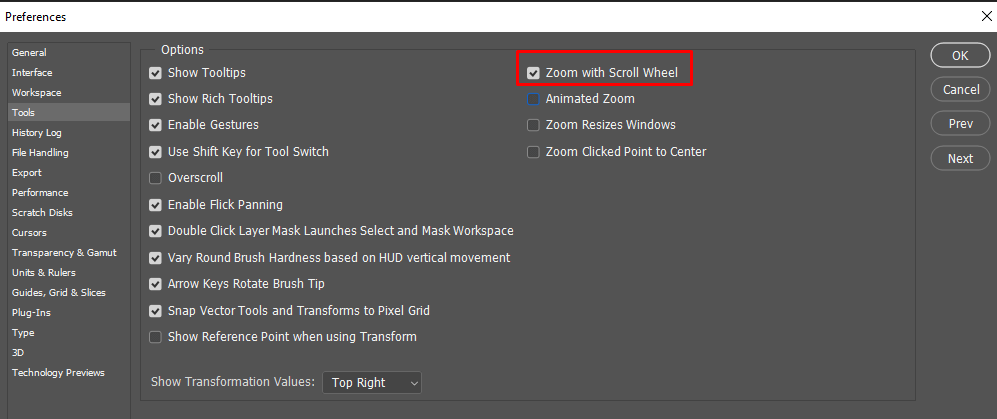
Another quick way of zooming in and out is using the scroll wheel on your mouse. To enable this feature, you’ll have to:
- Go to Edit in the ribbon.
- Hover over Preferences and select Tools in the sub-menu.
- Tick the checkbox next to Zoom With Scroll Wheel.
4. Scrubby Zoom With the Move Tool
If you’re using the Move tool and need to access Zoom quickly, you can use the Scrubby Zoom feature.
Select the move tool from the left toolbox of your main Photoshop window. Alternatively, hit the V on your keyboard to access it.
While the Move tool is active, you can hold down Spacebar + CTRL (Windows) or Spacebar + Command (macOS), then click and drag the image to zoom in or out. Dragging to the right zooms in, while dragging to the left zooms out the image or canvas.
That way, you don’t have to change the Move tool into a Zoom tool, especially if you know you’ll have to switch between the two often.
6. The 100% Zoom View
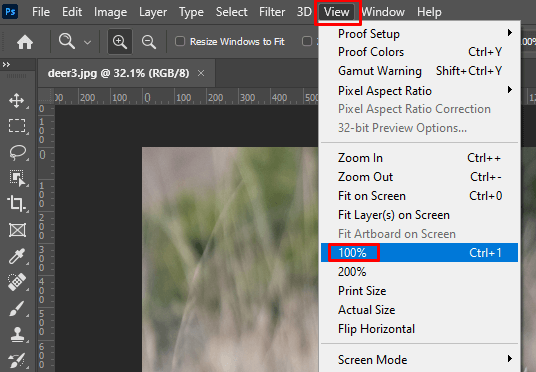
Whenever you want to get the most accurate view of an image, you should look at it at 100% zoom. That’s because, at 100%, one monitor pixel will display one image pixel. To quickly jump to 100% view you can select it from the View menu on the ribbon. Simply choose the 100% option from the drop-down menu.
If you want a quick way to jump to the 100% View, you can do it with the keyboard shortcut. Simply press CTRL + 1 on Windows or Command + 1 on macOS.
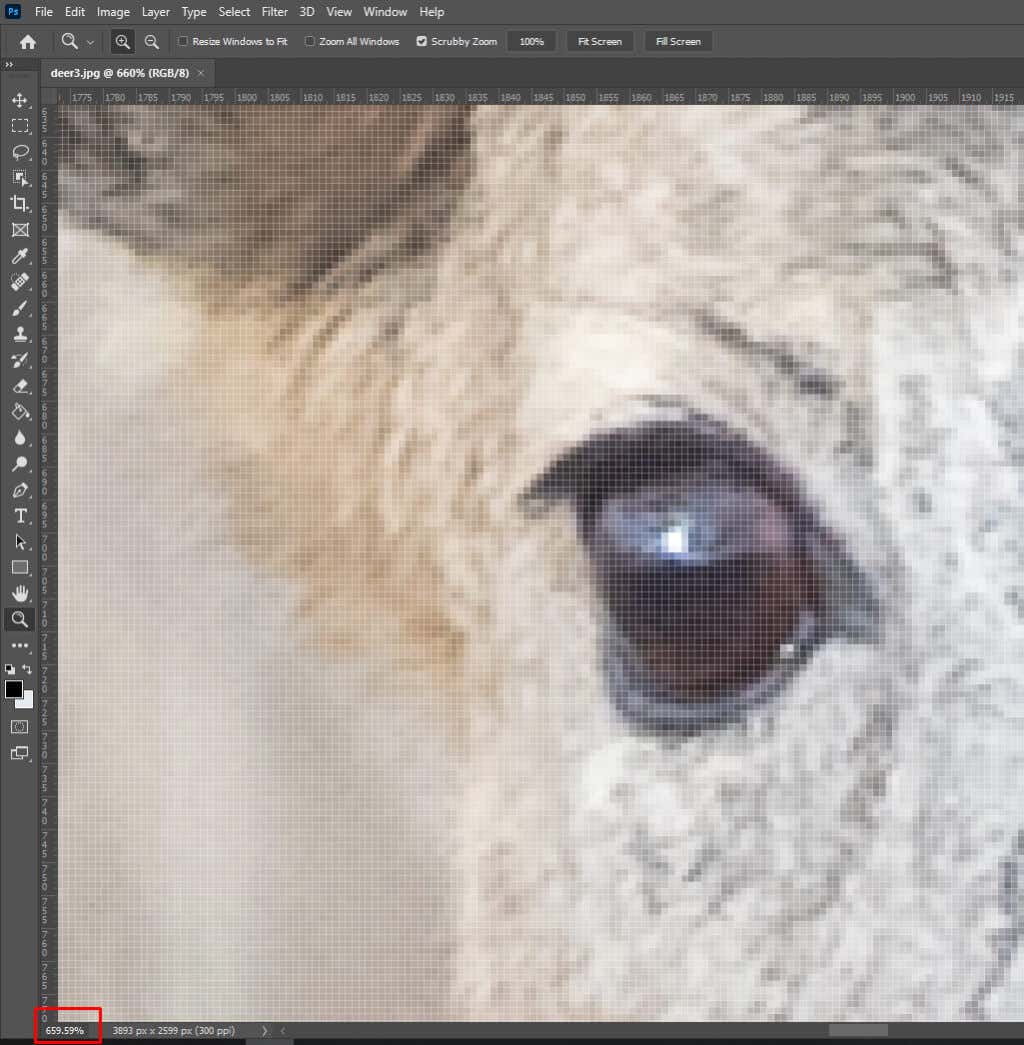
Viewing an image at 100% is the only way to get the most accurate view. You’ll be able to see all the details in the picture. Of course, you can zoom in even past 100%, but you won’t see more details because the image will be too pixelated.
Viewing an image or a picture at 100% is especially significant if you’re sharpening it. This lets you easily see when sharpening effects affect the image’s details.
7. Navigator Panel
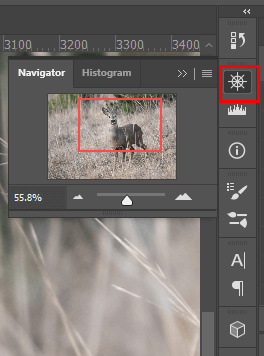
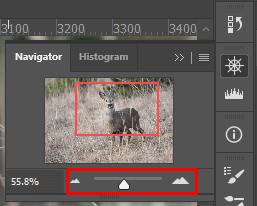
You can also use the Navigator Panel to Zoom in or out of your image or canvas in Photoshop. You’ll find the Navigator Panel on the right side of the Photoshop screen by selecting the icon that looks like a ship steering wheel.
If you don’t see the Navigator Panel in the right-side menu, you’ll need to enable it. Here’s how:
- Go to the Window option in the ribbon.
- Select Navigator from the drop-down menu.
Once you’re in Navigator Panel, you can click the big mountains icon to zoom in, and the small ones to zoom out. You can also click and drag the slider between the mountain icons to zoom in and out.
How to Navigate the Image While Using the Zoom Tool
When you zoom in on an image, you’ll notice you can’t see all of it at once. That’s where panning and scrolling the image gets useful. There are several ways to navigate your zoomed-in image. Let’s take a look at what options you have and how to use them.
The Hand Tool
The Photoshop Hand Tool is typically used to pan the image from one area to another. The Hand tool is in the Toolbar just above the Zoom Tool.
Once the Hand Tool is active, your cursor will change into a hand icon. To grab the image simply click it, and while holding the mouse button down, drag the image around. This will allow you to inspect different areas of the zoomed-in photo. To let go, you need only to release the mouse button.
Although the Hand Tool is easily accessible from the Toolbar on the left side of the Photoshop screen, switching between the Zoom and Hand tool can get annoying. Instead, there’s a quicker way to temporarily access the Hand Tool while the Zoom Tool is active. Simply press and hold the space bar on your keyboard. This will turn your cursor into a hand, which you can use to move your zoomed-in image around.
Flick Panning
Flick Panning is not a feature in itself. You can observe it as part of the Hand Tool feature. When you’re in the middle of a drag, you can release the mouse button and toss your image in any direction. It will keep moving and gradually come to a halt. But you can also stop it manually by clicking on the image again.
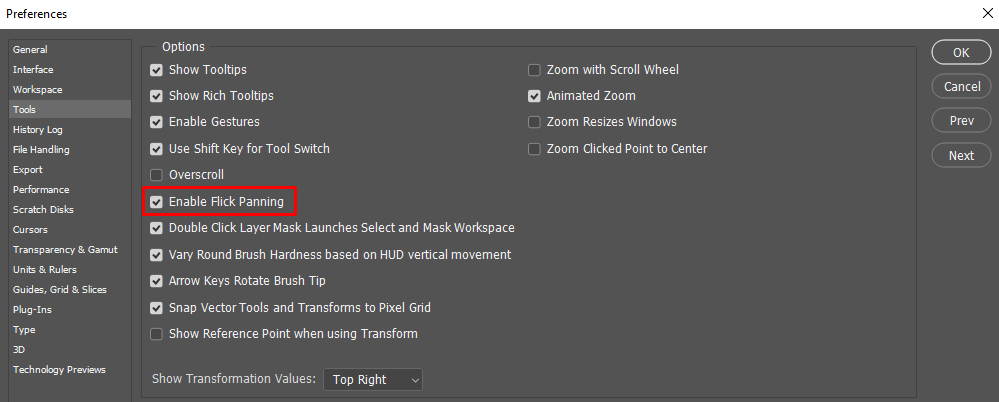
However, you might need to enable the Flick Panning in your Photoshop. Follow these steps:
- Go to the Edit option on the ribbon, and hover your mouse over Preferences.
- Select Tools from the sub-menu.
- Enable Flick Panning by checking the corresponding box, and clicking the OK button to close the dialog box.
Panning With the Scroll Bars
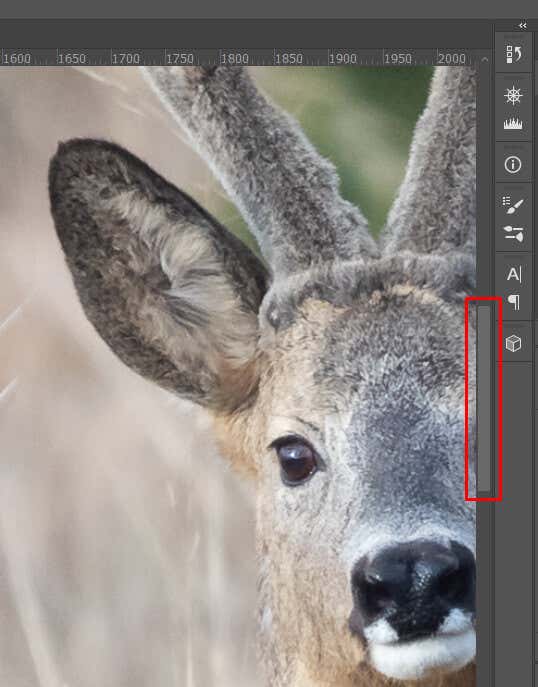
When you zoom in on an image, you’ll notice a scroll bar on the right side. Use it to pan up or down.
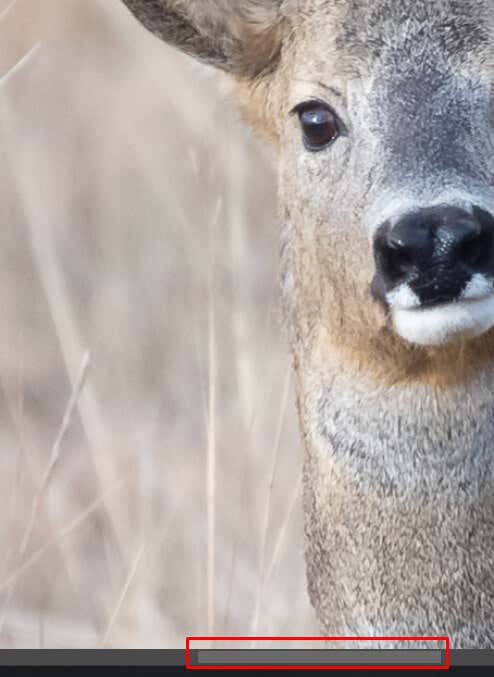
There’s another scroll bar along the bottom edge of your Photoshop window. Use it to scroll left or right.
Panning With the Mouse Wheel
You can also use your mouse scroll wheel to pan the zoomed-in image up, down, or sideways. You don’t have to use the hand tool when you are panning with the scroll wheel. You can use any of the many Photoshop’s tools.
Scrolling the wheel up moves the image up. Scrolling it down moves the image down. But if you want to pan to the right or left, you must hold the CTRL key on Windows or the Command Key on Mac keyboards. While holding the CTRL or Command, scroll the wheel up to pan the image to the left and scroll down to pan the image to the right.
If you need to alternate between panning and zooming with the mouse scroll wheel, you can do it simply by changing the keyboard buttons you’re holding. Use the Alt or Option key on your keyboard to zoom in and out, and CTRL or Command to pan the image.
And that’s it! You now know all the basics of zooming in and out in Photoshop, and you can navigate faster with the panning tools. Photoshop is a complex tool with a bit of a learning curve, so start getting in the habit of using keyboard shortcuts or key + mouse scroll combinations to speed up your workflow.

