Give yourself an instant virtual makeover
If you use Zoom for work or personal use, knowing how to change your display name and background can come in handy. We’ll walk you through the steps to give your Zoom account a new name and change your background using the Zoom mobile app or the Zoom desktop client.
Whether you simply want to rename yourself in your Zoom profile or you’d like to switch your background image, we’ve got step-by-step instructions for the Zoom app on both Android and iOS mobile devices.
How to Change Your Name on Zoom Before a Meeting
Imagine you’ve got a virtual job interview scheduled for later this week over Zoom. To prepare, you should log into your Zoom account and make sure everything looks okay. Your display name should be professional. Usually, the best choice is to use your full first name and last name. When you use your full name, you can ensure that you make a great first impression when you join a Zoom meeting.
Change Your Name on the Zoom Website
If you’re on a desktop computer using a web browser to access Zoom, you can log into Zoom’s website to change your display name in advance of an upcoming meeting.
- Head over to Zoom and sign in with your email address and password.
- In the left sidebar, select Profile.
- Select the Edit link that’s just to the right of your name.
- Here’s where you can change your Display Name. Your display name is what other meeting attendees can see in the meeting window, so that’s the one you want to change.
- While you’re on your profile page, you can also choose to share your pronouns. (Note: this option is only available if you have version 5.7.0 or later.) Enter your pronouns and choose when you want to share them. Options include: Always share in meetings and webinars, Ask me every time after joining meetings and webinars, and Do not share in meetings and webinars.
- When you’re finished, scroll down and select the Save button.
If you wish, you can add more info to your profile on this page, like your job title, company, or location.
Change Your Name in the Zoom Desktop App
If you have the Zoom client installed on your Mac or PC, you can change your display name before joining a meeting.
- Launch the Zoom app on your computer and, if necessary, sign into your account.
- In the top-right corner of the window, select your profile picture and then select My Profile from the dropdown menu.
- A browser window will open and you’ll be directed to your profile page on the Zoom website. Click Edit next to your profile picture.
- Enter in a new Display Name, and then select the Save button.
Again, your profile page is where you can customize other information like your pronouns or your job title.
Change Your Name on the Zoom Mobile App
These instructions should work for iPhone and Android.
- Open the Zoom app and sign in if necessary.
- In the bottom-right corner, select Settings.
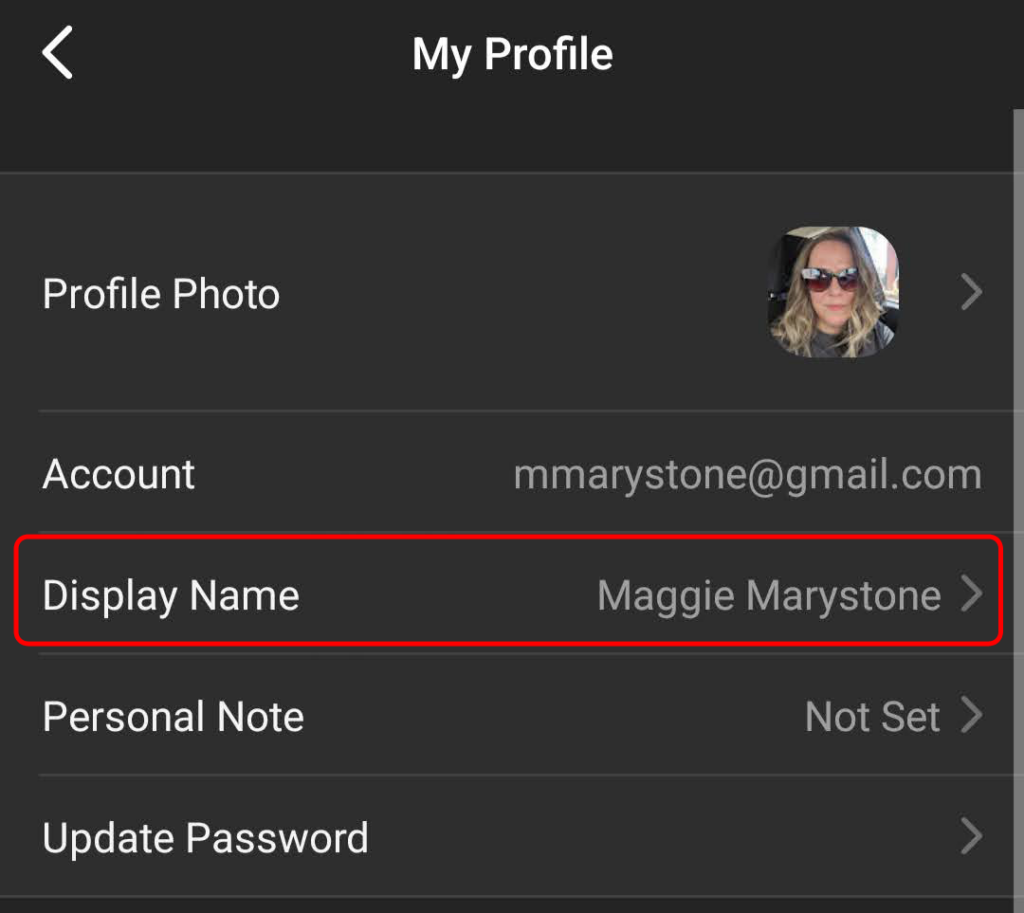
- Select the banner at the top with your name and email address.
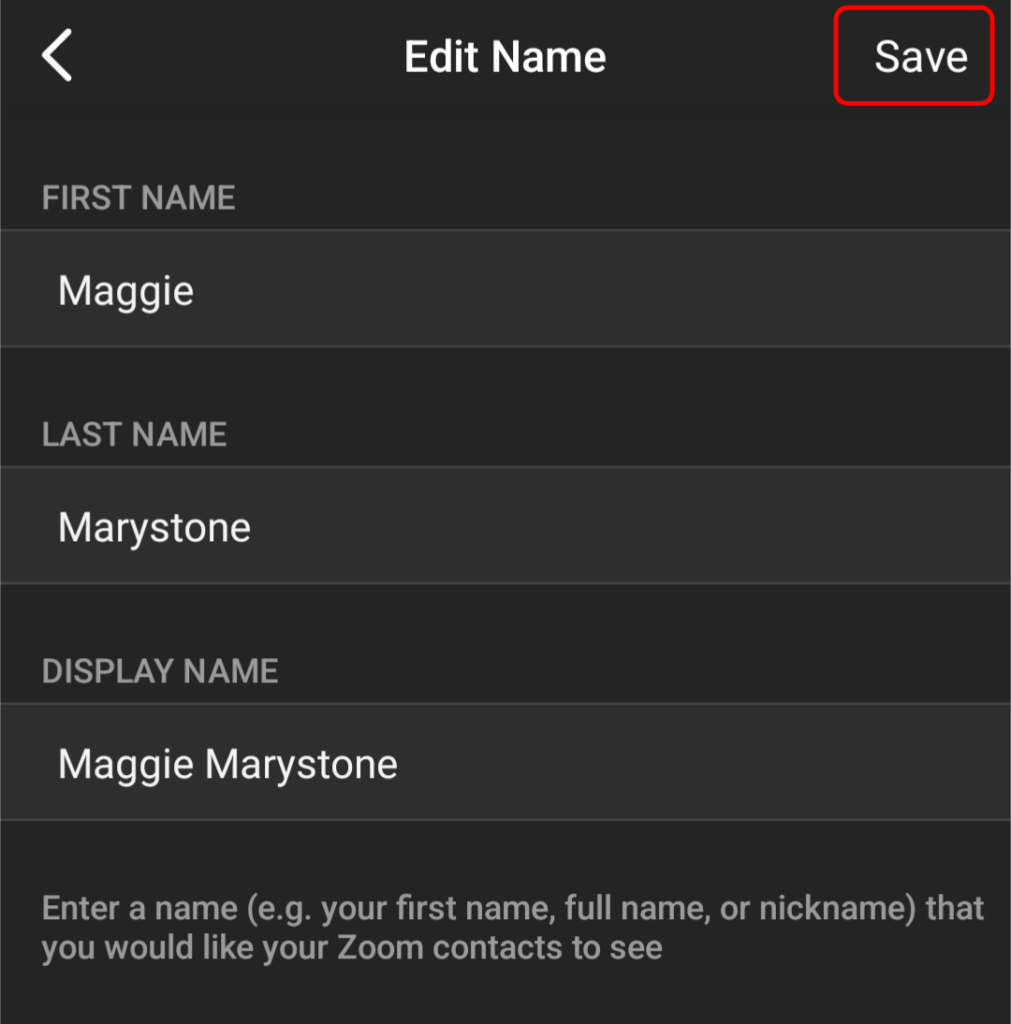
- Tap Display Name.
- Enter a new display name and then tap Save in the top-right corner.
Whatever you change your Display Name to is what other meeting attendees will see on the meeting screen.
How to Change Your Name on Zoom During the Meeting
To change your display name once the Zoom meeting is in progress, follow these steps.
- At the bottom of the window, select Participants from the toolbar.
- In the Participants panel that appears on the right side, hover over your name. Select the More button and then select the Rename link.
- In the pop-up window, enter a new screen name and select OK.
Other meeting participants will now see your new screen name.
How to Change Your Zoom Background
You might want to display an image or video as your Zoom background so people can’t see the room you’re in or just because you want to create a more professional image. Follow our guide on how to make a custom Zoom background.
How to Enable Virtual Backgrounds
To enable the Virtual Background feature for users in your Zoom account, follow the steps below.
- Log into the Zoom web portal with the account administrator’s credentials.
- In the menu on the left, select Account Management > Account Settings.
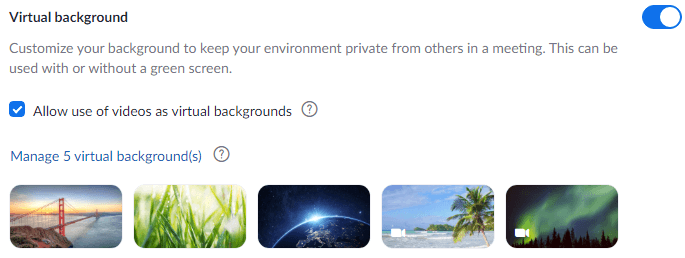
- In the In Meeting (Advanced) section of the Meeting tab, scroll down to Virtual background and make sure that it is enabled. If it’s disabled, use the toggle switch to enable it.
If you only want to enable Virtual Backgrounds for your own use (vs. all users on the account), follow these steps:
- Sign into the Zoom website.
- Select Settings from the navigation menu.
- In the Meeting tab, scroll down to the Virtual Background section and verify that virtual backgrounds are enabled. If the feature is disabled, select the status toggle to enable it. If you wish, check the box next to Allow use of videos as virtual backgrounds.
Once Virtual Backgrounds are enabled, you can apply a virtual background during a meeting.
How to Change Your Virtual Background in the Zoom Desktop Client
To change your virtual background in Zoom’s desktop client, launch the client and sign in if necessary. Then follow these steps.
- Select your profile picture and then select Settings.
- Select Backgrounds & Filters.
- If you have a green screen, check the box next to I have a green screen.
- Select an image or video to be your virtual background. If you want to upload an image or video, select the plus icon and choose Add Image or Add Video.
Note: You may be prompted to “Download the smart virtual background package” if this is the first time you’ve used this feature. In that case, select the Download button and the package will be installed automatically.
How to Change Your Virtual Background in the Zoom Mobile App
In the Zoom mobile app for Android or iOs, you can easily change your virtual background.
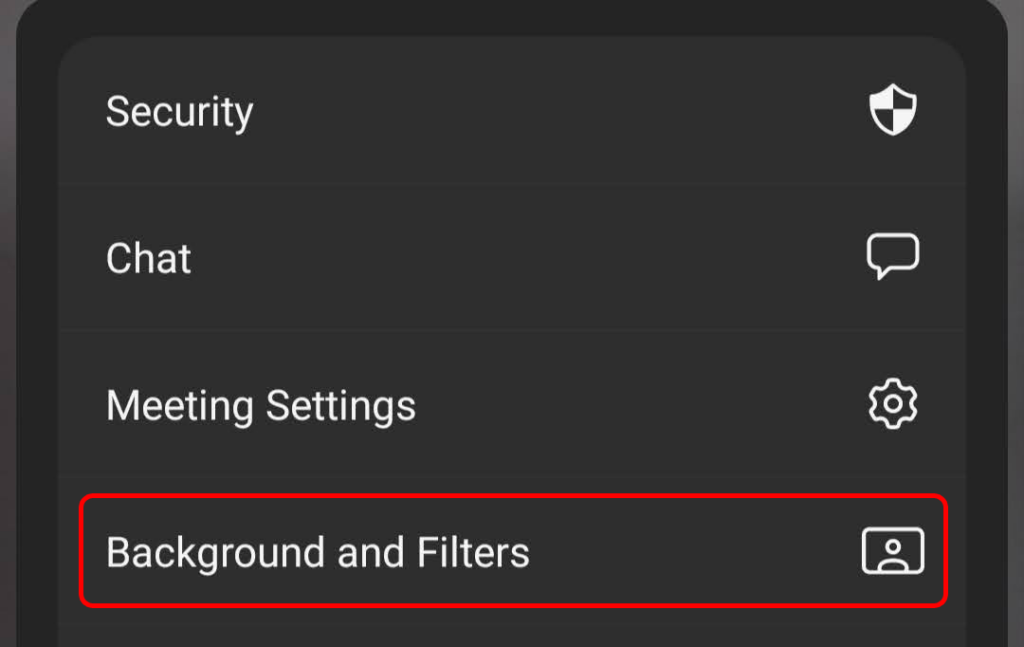
- While you’re in a meeting, tap the More button.
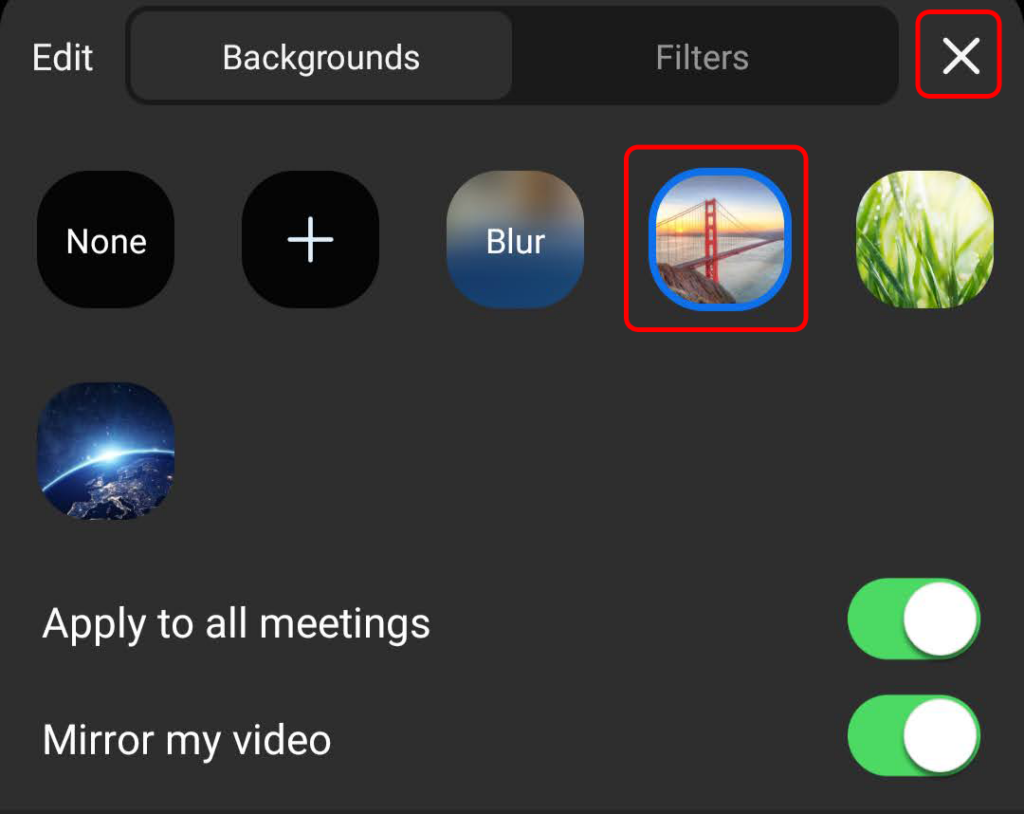
- Tap Background and Filters.
- Select your preferred background and tap the X to close and return to the full meeting screen.
If you wish, you can adjust the settings for Apply to all meetings and Mirror my video at this time as well.

