Add some eye candy to your spreadsheets
You can enhance the appearance of your Excel spreadsheet and make it more visually attractive to an audience. The best way to spice it up is to add an Excel background image. This article will show you several different ways to do so.
You can use an image as a background or a solid color or pattern. There are basically three ways you can do this in Excel: using Page Layout, adjusting the transparency of an image and inserting an object.
Add an Excel Background Image In Excel Using Page Layout
- Open the page layout ribbon by clicking on Page Layout.
- Look under the Page Setup section for Background.

- Click on Background and see the three options – from a file, Bing Image Search, and OneDrive-Personal.
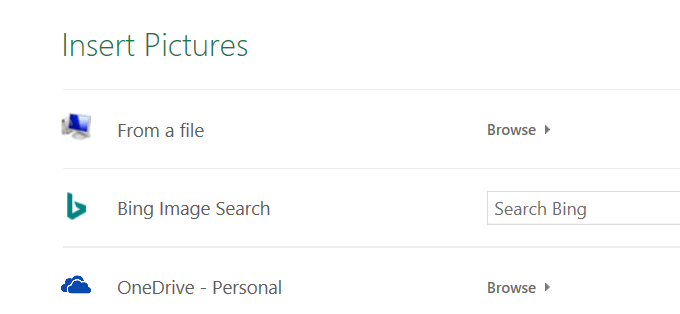
- Let’s start by selecting the first option From a file and choose an image from your computer.
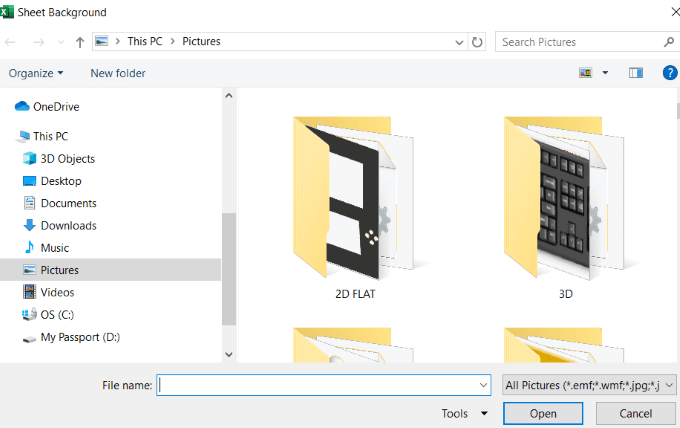
- Select an image and then click Insert. See the background chosen behind your data in the screenshot below.
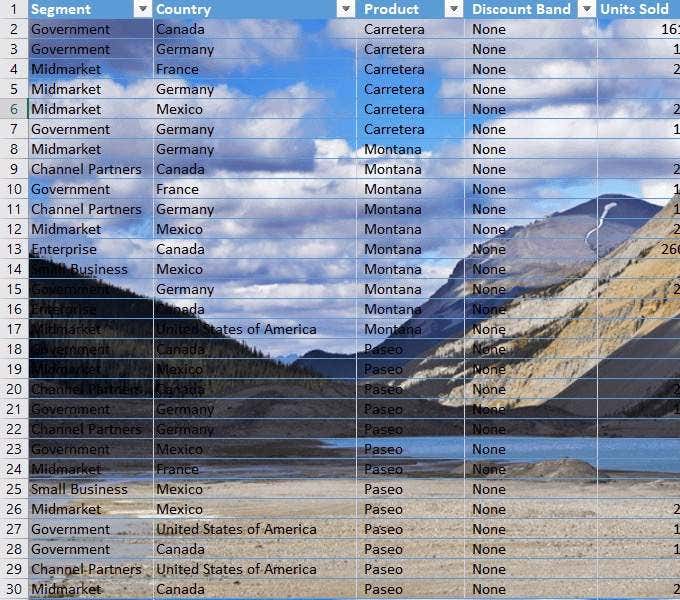
As you scroll down the page or as you move from side to side, the image repeats itself over and over in the background.
Be careful with the Excel background image you choose to use. As you can see in the image above, the data is obscured in many areas because the area on the picture is dark and so is the text.
You have a few options. You can change the color of the text and bold it.
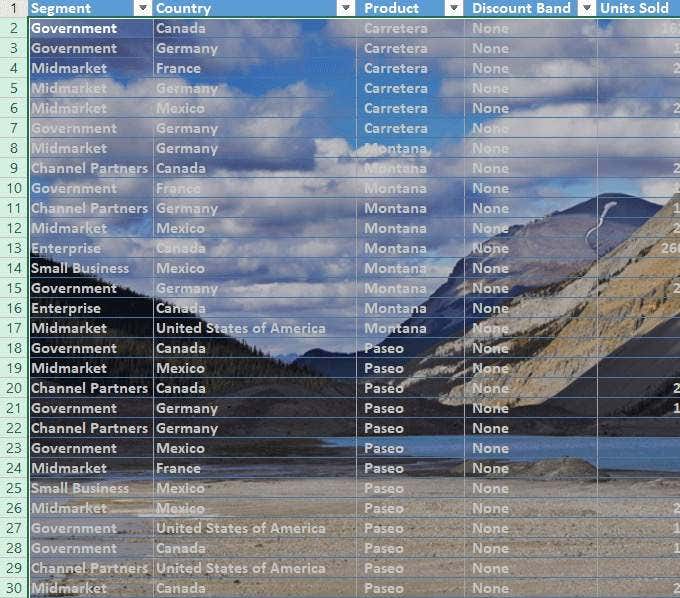
Keep in mind that your data is the focal point of your spreadsheet. If the Excel background image makes it hard to read, you are diluting the impact of your information.
This is a downside of using background images. You don’t want the background to interfere with your data.
Another disadvantage is the data gets smaller when you zoom out on your spreadsheet while the image size stays relatively the same.

If you zoom in, the text gets larger, and the image remains relatively stable.

The Excel background image does not follow the data by staying proportional to it. Let’s use the second option now to add a background.
First, delete the old one by going to Page Layout > Delete Background.

The second option is to insert a picture from a Bing Image Search. This is often a better option because you might not have the best image on your computer.
Since this spreadsheet is about financial information in different countries, let’s search for images about maps.

By default, the search will only bring up results for Creative Commons images. These are images that have been uploaded to the web to be shared.
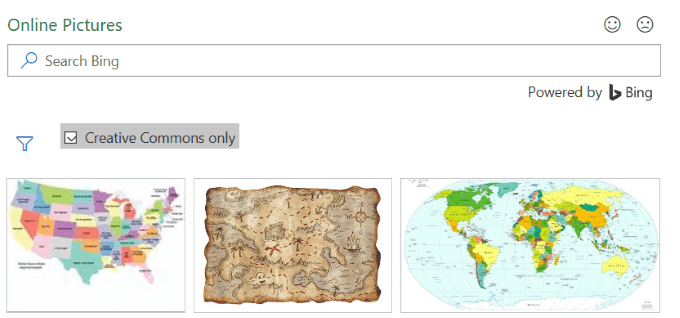
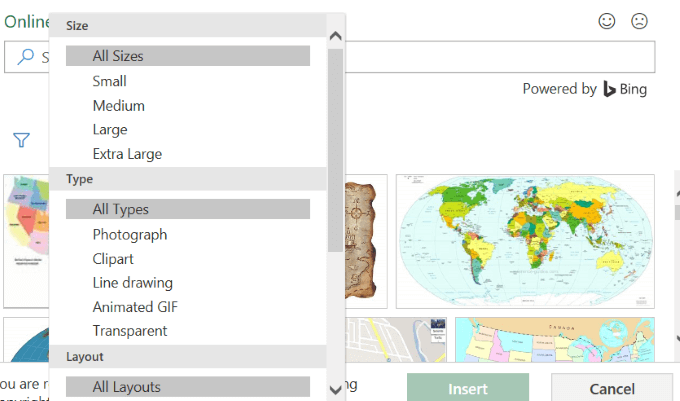
Click on the filter icon to only see the image Sizes, Types, Layouts, and Colors and select the ones you prefer.
See the screenshot below with a picture of a map background. I bolded the black text to make it stand out more.

Backgrounds can be visually appealing, but you must be careful that they don’t make your text unreadable.
When you insert an Excel background image using this method, the image does not show up when printed.
It is therefore only useful when you are showing your spreadsheet to others in a presentation and you want to grab their attention.

Insert a Picture & Adjust Its Transparency
Make sure you are on the Home tab and go to Insert > Pictures.
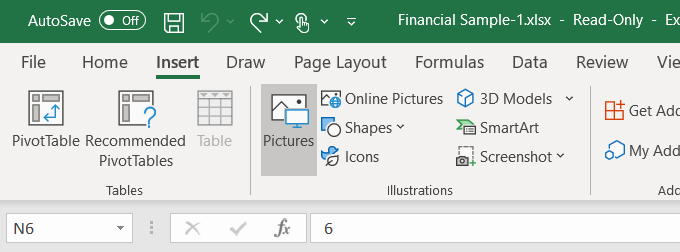
Choose an image from your computer and click Insert. Notice that the picture is not a background image. It is floating on top of the spreadsheet data.
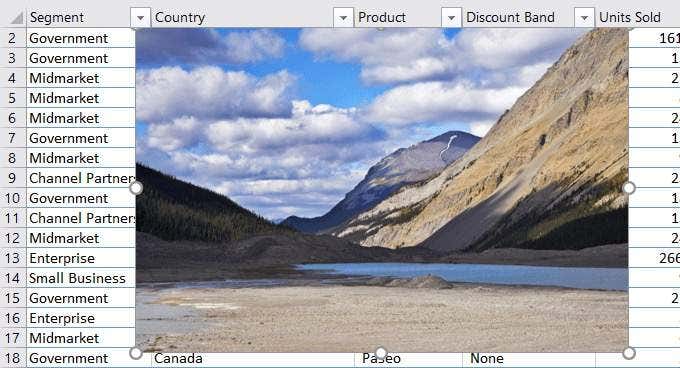
You can move the image around the spreadsheet and resize it by putting your cursor on one of the circles on the edges and dragging it.
An advantage of inserting an Excel background image rather than adding a background is that you can adjust the transparency. If your spreadsheet is very long, this method might not be the most convenient method.
Start by pushing the image to the top left-hand corner of your spreadsheet. Then drag the picture so that it covers all the data.

Adjust the transparency by clicking on the image. Then click on Picture Format tab > Transparency > Picture Transparency Options.
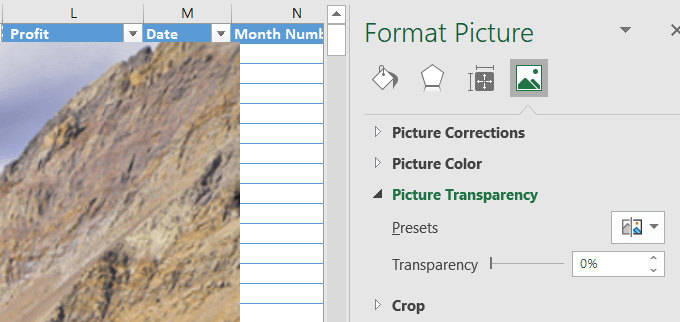
Add transparency to the picture so that it is sitting in the background and the data is behind the data. Move the toggle on the Transparency option to the right until the data becomes clear and can be easily read.
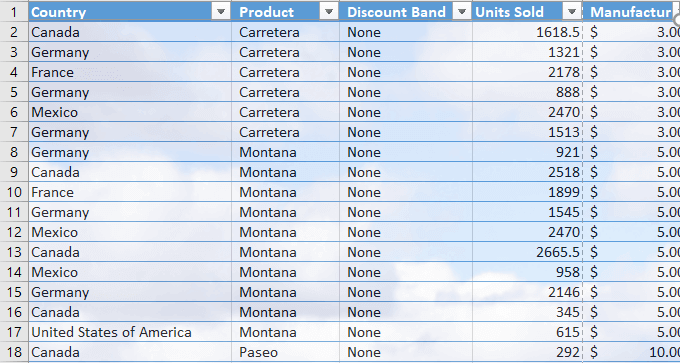
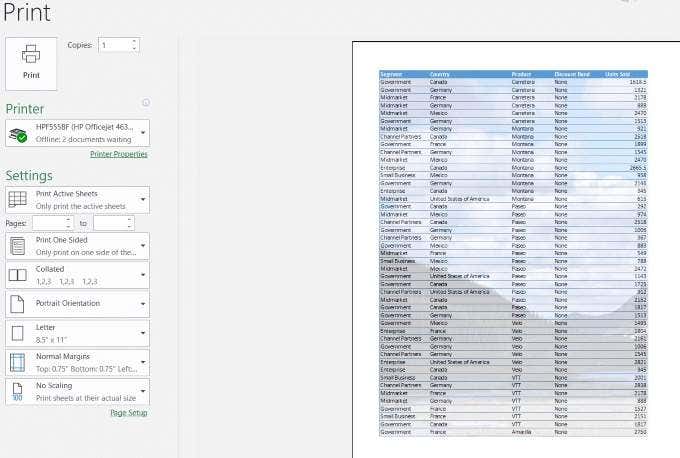
This method uses an inserted picture that behaves like a background image and will show up when printed.
Insert An Object In Excel
If your spreadsheet is very long, the previous method could be cumbersome. Inserting an object might be a better option.
- Start by clicking Insert from the ribbon menu.
- Then click Shapes. The drop-down menu next to Shapes will open.
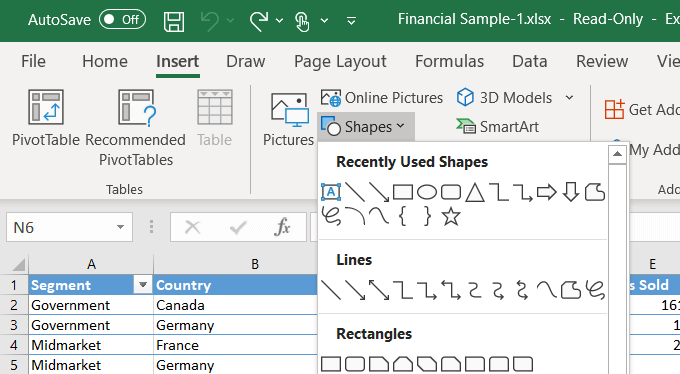
- Select a shape by clicking on it. We will use a rectangular shape. Using your mouse, drop the shape on your spreadsheet to create it.

- Then resize it by dragging the circular buttons around the shape until it covers all your data. Right-click on the shape and select Format Shape.
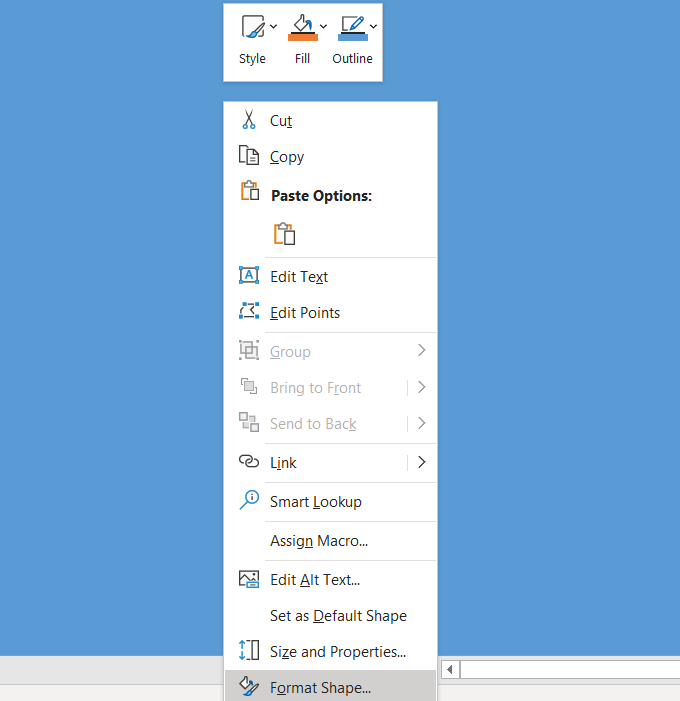
- Click Fill from the menu > Picture or texture fill > Insert (under Picture source). Insert a picture from a file, online pictures, or from icons.
- Let’s choose a Texture fill. Under the Format Shape, select Picture or texture fill. Then click the drop-down menu next to Texture and choose one to use.

- The texture will fill the shape and cover your data. Use the slider next to Transparency to set a percentage that allows your data behind the texture to show. In the screenshot below, we used 75% transparency.

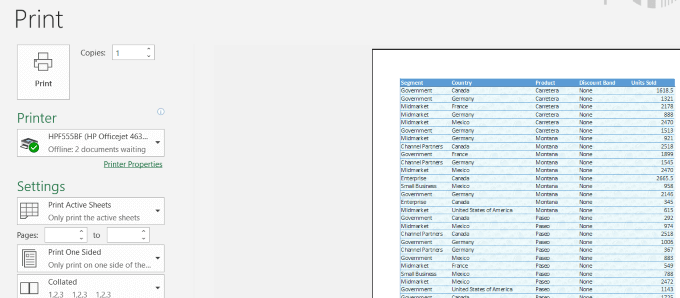
When you use this method, the background will show up when you print.
When adding a background to an Excel spreadsheet, keep in mind that being able to read your data clearly is vital.
Adjusting the transparency of the background and changing the font color or style can improve the readability of your data while adding a little pizzazz to your spreadsheet.
Have you had any trouble adding an Excel background image – or perhaps you have a tip on how to add other background features? Join the conversation and let us know in the comments below.


